
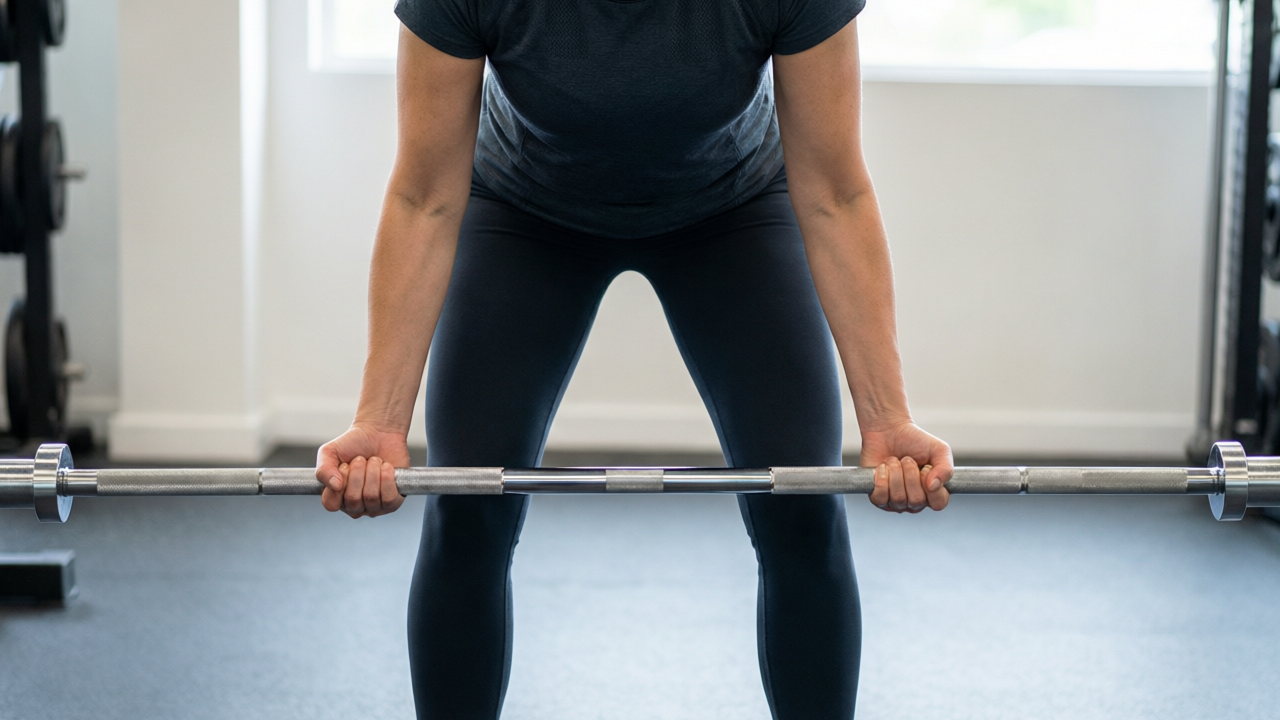
Clean & Press
clean-press
Take care with
- avoid · Rotator cuff tear — The overhead press component places significant stress on the rotator cuff, and the catch position requires extreme shoulder mobility and stability. Attempting this can exacerbate tears or cause impingement. Instead, perform dumbbell floor presses or landmine presses which limit range of motion and reduce shear force on the shoulder.
- avoid · Uncontrolled hypertension — This movement involves intense Valsalva maneuvering (breath holding) and rapid spikes in intrathoracic pressure during the explosive pull and overhead lockout, which can dangerously elevate blood pressure. Instead, perform controlled tempo goblet squats combined with light resistance band overhead presses, focusing on continuous breathing.
- avoid · Acute lower back injury — The explosive hip extension and heavy axial loading during the clean phase create high compressive and shear forces on the lumbar spine. This risks re-injury or disc aggravation. Instead, use a trap bar for deadlifts to maintain a more upright torso, followed by seated dumbbell shoulder presses to isolate the upper body push without spinal loading.
When I guide you through the clean & press, I want you to feel a seamless transfer of power from your heels to the bar. Good reps feel explosive yet controlled, like snapping a whip followed by a solid lockout overhead. Your core stays braced, your elbows track forward, and the bar glides in a straight vertical path. Focus on rhythm, not just weight, and let your legs drive the momentum while your shoulders finish the job.
If you're new to this
Start light to master the rhythm before chasing heavy plates. Keep your elbows high during the catch to create a stable shelf, and never let the bar drift away from your body. If your lower back rounds or you feel a sharp pinch in your shoulders, stop immediately. True fatigue in this lift shows up as sloppy timing, missed catches, or struggling to stabilize the overhead lockout. Avoid using your lower back to push the weight up; instead, let your legs and shoulders do the work. Breathe consistently, reset your feet between phases, and trust that smooth technique will naturally carry heavier loads over time. Practice the movement empty-handed or with a PVC pipe until the hip snap and elbow drop feel automatic. Consistency beats intensity here, so prioritize clean mechanics over ego-driven weight.
Common mistakes
Most lifters rush the transition and pull with their arms too early, which robs the movement of crucial leg drive and forces the lower back to compensate. Another frequent error is catching the bar with collapsed elbows, turning a stable front rack into a precarious balancing act that strains the wrists. During the press phase, leaning backward excessively creates a dangerous shear force on the lumbar spine and disrupts vertical alignment. Finally, failing to reset the feet after the clean compromises balance and limits overhead power. Keep the bar close, maintain a proud chest, and treat the clean and press as two distinct phases linked by explosive timing rather than one rushed motion.
Routine
- Sets
- 3
- Reps
- 4-6
- Rest
- 90s
- RPE
- 9
- Per set
- ~240s
- Frequency
- 2-3x/week
Add 2.5-5 kg to the bar once you can complete all sets with crisp, consistent form.
Muscles
- Shoulders
- Traps
- Quadriceps
- Glutes
- Abs
- Lower back
Equipment
- Barbell
- 1
Plant your feet shoulder-width apart with the barbell resting on the floor against your shins.
- 2
Hinge at your hips and grip the bar just outside your knees, keeping your spine neutral and chest proud.
- 3
Inhale deeply, brace your core, and drive through your heels to pull the bar explosively upward.
- 4
As the bar passes your knees, extend your hips and shrug your shoulders to accelerate the weight.
- 5
Quickly drop under the bar and catch it on your front deltoids with elbows high and wrists straight.
- 6
Exhale sharply, reset your feet to a stable stance, and press the bar directly overhead until your arms lock out.
- 7
Lower the bar with control back to your shoulders, then guide it down to your hips.
- 8
Hinge forward and return the weight to the floor, resetting your posture before the next repetition.